SimCNC supports the laser in three ways (synchronous outputs):
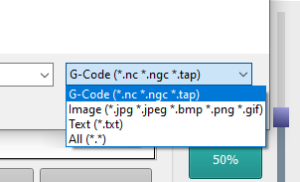
1. Engraving with CAM software built into simCNC - a photo loaded instead of a gcode file.
After loading the photo, the interface of the built-in mini CAM software appears:
The built-in CAM software uses three (3) modes of operation, shown in the red box above.
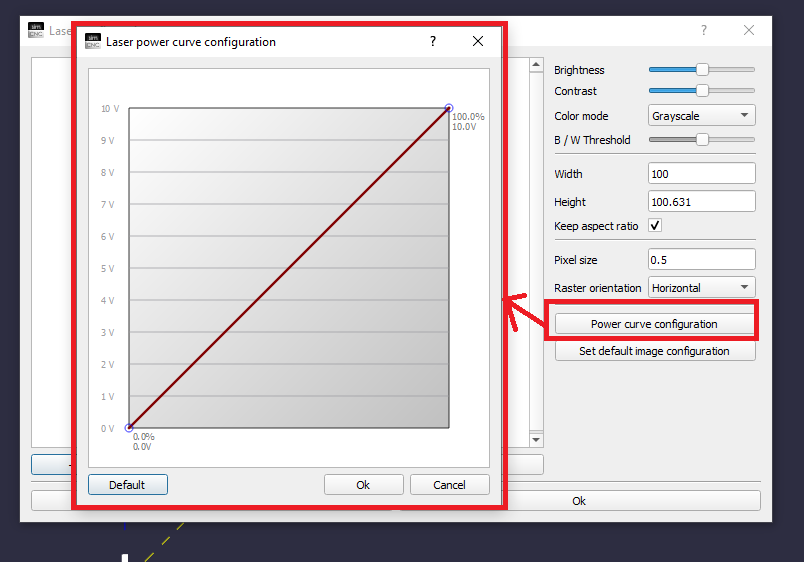
Each of these modes uses a 0-10V analog output.
It is even possible to scale the laser power in relation to the voltage.
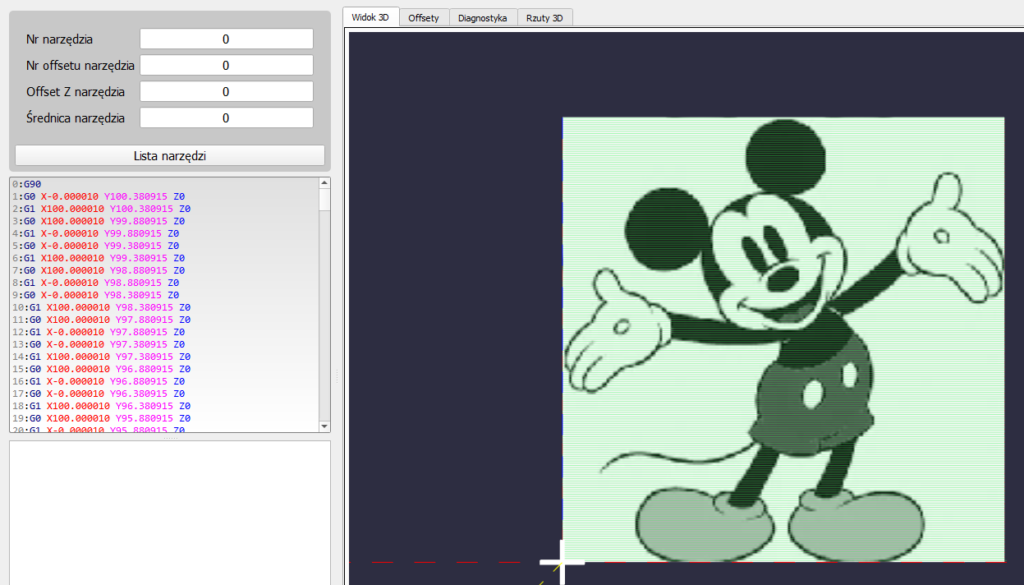
After pressing the "OK" button simCNC will generate a power map for the laser and a gcode that moves the head.
2. Engraving with the "S" command (from the gcode level) and external CAM software.
We can recommend the VCarve Pro software as sample software. For this software, we created a postprocessor and two macros M13 and M15 https://en.cs-lab.eu/wp-content/uploads/2021/11/simcnc_laser.zip
You need to add macro scripts to simCNC so it can activate the analog laser control mode. These macros are triggered automatically from a gcode, so apart from adding them to the scripts folder of your profile, you don’t need to do anything else. As already mentioned, the laser is controlled by an analog 0-10V signal, which requires the analog output number to be configured in the simCNC settings, “Special I / O” tab. We are talking about the “Laser Analog” option, where we choose out of two 0-10V analog outputs (more in Postprocessors >>).
The M13 macro turns on laser mode (put it at the beginning of the gcode) and the M15 macro turns off the laser mode (put it at the end of the gcode). The power is controlled with the "S" command from the gcode level, where the S0 command means 0% power and the S100 command means 100% power. Changing the laser power with the "S" command is synchronous with the trajectory and can take place at a very high frequency. In this mode, as in the previous one, the analog output 0-10V (1% = 0.1V) is used to control the laser power.
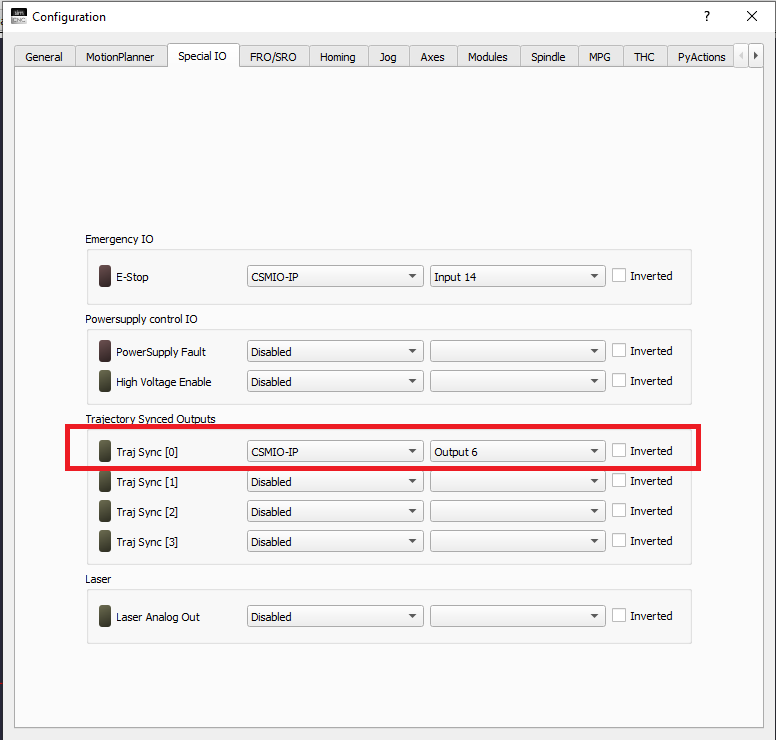
3. Using the commands "M62 Px" and "M63 Px" (from the gcode level), ie with 24V digital outputs synchronous with motion trajectory.
The M62 P0 command turns on the synchronous output number 0 and the M63 P0 command turns it off. Below is an example of the configuration of the digital output number 7 as the synchronous output number 0.
All the information contained above will be discussed in more detail in a separate manual.
[Source:] The diagram was created by CS-Lab’s Technical Support section for CSMIO/IP users
Was this article helpful?
That’s Great!
Thank you for your feedback
Sorry! We couldn't be helpful
Thank you for your feedback
Feedback sent
We appreciate your effort and will try to fix the article


